Woodworking
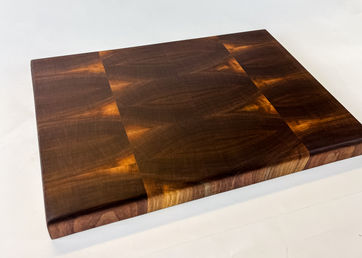
In college I looked for new hobbies to try and got the chance to make my first cutting board at the Invention Studio on campus. I loved the hands on process and was proud of the results that came from it. When I became a learning assistant for sophomore studio I was able to use these skills to run some workshops for the students, including demonstrating domino joints and general tool use. I hope to continue to grow my skills and pursue some more personal projects out of wood.
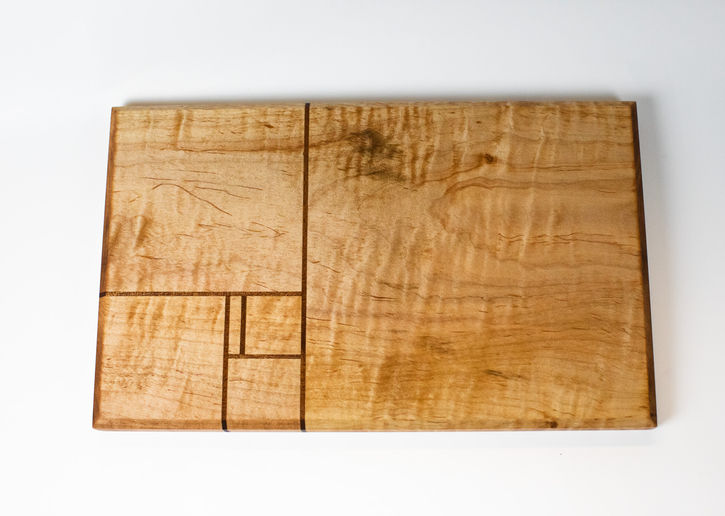
Making my golden ratio serving board

01
Gathering Materials
Since the design was simpler I wanted to use a grain that stood out. Curly Maple is one of favorites for its intriguing grain so I chose that for the light wood and Sapele for the dark wood that would create the pattern. The tools used for the project included a ruler, T-square, table saw, planar, and miter saw.
02
Golden Rules
The golden rule of carpentry is measure twice, cut once. . . while also thinking ahead. While doing the calculations and cutting for the squares, I didn't account for some extra width I was cutting off the board as a whole which left me with the wrong size for the C D E squares. After some deliberating different ways to correct my mistake I ended up scrapping the section and redoing the C D E pieces to get the correct measurements. With the right proportions I was then able to add an F square as well.
I had to alternate blades every cut, using the rip blade for cutting with the grain and the crosscut blade for across the grain. This slowed down the process but minimized tear out to keep my cuts clean and precise.


03
Clamps, Clamps, more Clamps
Once all the pieces were cut, it was time to glue up. I was able to clamp all the Sapele to their corresponding squares in one go but after that it took a few days to clamp and glue each piece one section at a time.
I faced a small issue with the A square not having a perfect clamp so after the glue-ups were done I went back and added saw dust and wood glue to the small gaps to make sure everything was sealed. This makes sure that when the board is in use no bacteria from food gets in the board.
04
Planing and Sanding
Once the glue ups were done, it was time for making the board nice and smooth. Since there were alternating grain patterns, I hand planed the segments down so it would be safer to send through the planar. The planar then only took a handful of passes to have everything level.
I worked from 80 Grit to 320 Grit sandpaper, pausing after 180 to add the chamfered edges. This helped me not over-sand the chamfer and keep the edges crisp. Once 320 was complete, I raised the grain with water and re-sanded until it stayed smooth.


05
Finishing Touches
After all that now it was time to make the grain pop! Several coats of mineral oil were applied followed up with another several coats of beeswax, This keeps the board moist, preventing warping. In addition, the wax seals everything in so it is food-safe to use.
This board has been my favorite to make so far and I was proud to give it to my mom for Christmas. I learned a lot about thinking through the process ahead of time and working through mistakes.
Acknowledgments
Evan Walters
For teaching me the basics of woodworking and tools
Flowers Invention Studio
For its friendly, knowledgeable students and a space to learn
Freeside Atlanta
For providing a space, community, and tools
Carltons Rare Woods
For its amazing selection of woods and knowledgeable staff
yOU MAY ALSO LIKE . . .


